
I know I make lots of mistakes in art, and I know I’m not the only one. Drawing is an art, and while there may at times be precise measurements and technical instruments used in the process, the fact that drawing is an art means that it’s subject to error. And, to come right down to it, even with the use of mechanical tools such as rulers and compasses (especially in my hands), mistakes can still happen in our drawings.
I’m going to venture out on a limb here and postulate that even with digital drawing programs or computer-assisted-drawing (CAD) programs, mistakes are part of the process. Am I right? While I’ve never used CAD, I’ve played a bit with digital drawing programs such as Windows Paint, and, sure enough, there is an eraser function there, so, yes, mistakes can and do happen. I’m guessing there is probably a similar function in any CAD software program.
Of course, erasers aren’t just for mistakes. Erasers are actually necessary tools for drawing. When I began learning, it took me a little time to fully understand that my lines aren’t supposed to be perfect from the start. Graphite drawing often involves making lots of loose lines, and then gradually refining the drawing, getting rid of lines that aren’t needed, lines that aren’t quite in the right place. Sometimes we begin by drawing basic shapes and then refining them into specific objects, and again, our initial pencil lines can then be erased.
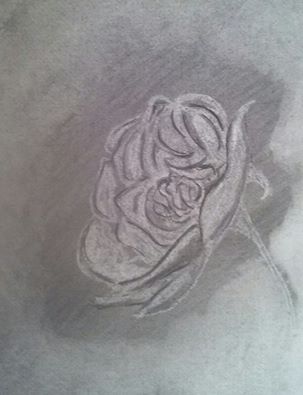
Erasers are also useful as drawing implements. Interesting effects can be achieved by shading an area and then using an eraser to remove material. The technical term for this is rendering, and while it can be done with graphite, it’s more often used with charcoal.
Matt Fussell — the Virtual Instructor — offers a free video tutorial on the process:
This technique can be used for making complete drawings, or simply for adding highlights in shaded areas. Below is a “rendered drawing” of a rose that I did in 2016.
Of course, erasers are also handy for “cleaning up” drawings. Despite my best efforts to keep my drawings neat, I invariably end up with smudges on the paper when I work with graphite (or charcoal), and a good eraser can definitely help me tidy up my art.
All in all, erasers are among the most important art tools we have! So, why have I never written about them before? Oh, I’ve mentioned them many, many times as I’ve pointed out mistakes I’ve made in drawings, but while I’ve written about pencils and pens and various types of inks, and watercolors, gansai, colored pencils and just about every other art tool, I’ve never written a guide to erasers!
Where would we be without them!
Today, let’s take a look at several different types of erasers, because they’re not all the same. Going back again to my earliest days of art study, I assumed an eraser was an eraser, and that was that! I was surprised to learn that there are so many different kinds of erasers!
- Kneaded erasers
- Rubber erasers
- Gum erasers
- Vinyl erasers
- Plastic erasers
- Foam erasers
- Electric erasers
- Stick erasers
- Sand erasers
How many of these erasers do you have in your toolkit? I have several, and I definitely have my favorites — and my least favorites.
But why so many? Do we really need all of these erasers? Probably not. The erasers we use will depend upon the art we do and upon our personal preferences, as well.
Each type of eraser has its own unique features, pros and cons, and specific uses depending on our specific needs, the medium we’re working with, and the results we’re hoping to achieve. Some erasers are more suitable for graphite, others for charcoal or pastels, and some are even designed for use with specific types of paper or surfaces.
Kneaded Erasers
I’m starting with kneaded erasers because they’re among my favorite, and I think that’s probably true for every graphite artist. They are also among my cats’ favorite toys!
Kneaded erasers are fun to play with. A bit like putty, they stretch, can be molded and shaped and even provide a bit of stress relief from time to time!
These erasers are soft and malleable, and are great for erasing in very small areas, or to simply “lift” off a bit of graphite. They are gentle on the paper, but they can quickly become dirty. When that happens, however, stretching and re-shaping can “clean” them up again. They’re also fairly inexpensive, so don’t just buy one. Buy several!
Rubber Erasers
Next, let’s look at rubber erasers. We’re all familiar with these! When we first go to school and learn to write — and draw — we’re given 2B pencils with a rubber eraser on the end.
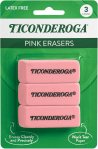
Rubber erasers can also be purchased in “wedge” form — as shown above — and their firmness makes them easy to handle. But the disadvantage is that these erasers can easily smudge our drawings and even tear the paper if we’re not careful! Repeated erasings are likely to leave a hole in the artwork.
Gum Erasers and Art Gum Erasers
Gum erasers can be so much fun to play with! Yes, I’ll admit. I used to enjoy crumbling them up a bit. I honestly don’t know if there’s any big difference between those sold as “gum” erasers and those marketed as “art gum” erasers. I do know that these erasers are very popular!
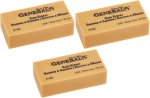
Gum erasers are especially good for charcoal or soft pastel. These erasers are gentle and they quickly absorb material. The main drawback with gum erasers is that because of their “crumbly, soft” consistency, they leave a lot of residue behind that needs to be carefully brushed away from the drawing surface. This crumbly consistency also means that a gum eraser won’t last too long. You’ll need to replace them often.
Vinyl Erasers
Another popular material for erasers is vinyl. These are sometimes thought of as “all-purpose” erasers because they’re useful for so many different media. A vinyl eraser can erase graphite, ink, and even some markers! Vinyl erasers can also be used with charcoal, but a bit of caution is needed here. While these erasers are durable and versatile, they can damage the drawing surface if used too aggressively. Unlike some erasers, these leave little residue, they don’t harden or crack with age, and they don’t smudge. Every artist should have a few vinyl erasers handy!
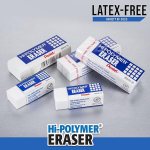
Plastic Erasers
Next on the list are plastic erasers — which are very, very similar to vinyl erasers. I’m not knowledgeable enough to say exactly how plastic and vinyl differ, but I know that plastic erasers are advertised as being PVC plastic. They are touted as “clean” and “odorless” — which can be an important consideration for some artists.
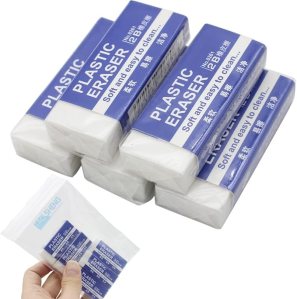
One specific advantage for plastic erasers is that they can actually be cut into shapes, making it easier to reach small areas of a drawing. These erasers — like their vinyl cousins — are versatile and long-lasting. Again, though, they can damage the drawing surface if used with a heavy hand.
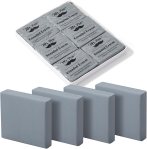
Foam Erasers
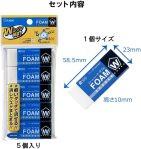
I’m not personally familiar with foam erasers, but from what I’ve learned in my research this morning, they appear to be similar to vinyl or plastic erasers. They’re made from a foam resin with polymer added — which doesn’t tell me much, but maybe you understand this.
In reading reviews for foam erasers, I’ve learned that they’re touted for leaving little, if any, residue behind, and they seem to be a favorite with calculus students! They’re inexpensive, flexible, and gentle on the paper, all of which makes them ideal for soft pastels. They’re not especially long-lasting, however, so if you choose to use these, you’ll probably want to purchase a set.
Electric Erasers
An electric eraser? Are you kidding me? That was my reaction when I first read about this handy little art tool. My recent purchase of an electric eraser is also the reason I decided to write a post on the topic. Yes, you can probably guess, I like my new purchase!
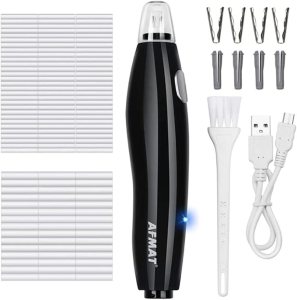
I haven’t used this new electric eraser much yet, but it has been fun! But why buy an electric device? Well, this eraser tip spins rapidly. It’s a small tip. That means quick, precise erasing. The disadvantage, of course, is that an electric tool requires batteries and/or charging, and as far as erasers go, yep, it’s a bit pricey. I bought one simply because it was recommended by an art instructor, and I was curious about it. It’s fun, but it’s not a “must-have”. In fact, I have to be careful with it. I’ve found that it’s easy to get “carried away” and erase a bit more than I intended. But, all the same, it’s a fun tool to have in my art box.
Stick Erasers – Also Known as “Retractable” Erasers
Although I love my kneaded erasers and although I’m having fun playing with my new electric eraser, when it comes right down to it, my stick eraser is my favorite. The actual eraser is made from a soft, rubbery vinyl, and refills are available.

I can’t say for sure why I like this type of eraser so much, but I think it’s partly because it fits in so well with my drawing pencils. When I go anywhere to sketch, it’s so easy to take along this stick eraser. Maybe it’s also partly because it’s easy for me to hold and control. It’s designed just like a pencil or pen, so I can use it comfortably. Like a pen, most stick erasers have a “pocket clip” making them very easy to carry around — although I’ve never clipped one to my pocket before!
Sand Erasers
This was another “newbie” to me. I’d never heard of a “sand eraser” until I began researching. These erasers are designed especially for ink and colored pencils, so if these are media you use frequently, you’re probably familiar with this type of eraser. This is a rubber eraser, but it has silica grit added. Interesting!
Sand erasers are also used with “pyrographic” art — wood-burning. Many artists make graphite tracings for their projects and then have problems removing the graphite lines from the wood. So, sand erasers are used!
For what it’s worth, the rubber in this specific product does contain latex, so if you have sensitivity to latex, you’ll want to avoid this one. I don’t know if other manufacturers offer a latex-free product.
And although I haven’t included the next item on my list, I’ll share a link here anyway, just because ERASER TIPS are so bright and colorful. Also known as “pencil-toppers”, that’s exactly what they do! So, when you’ve used an eraser on your pencil a lot… just pop on a topper!
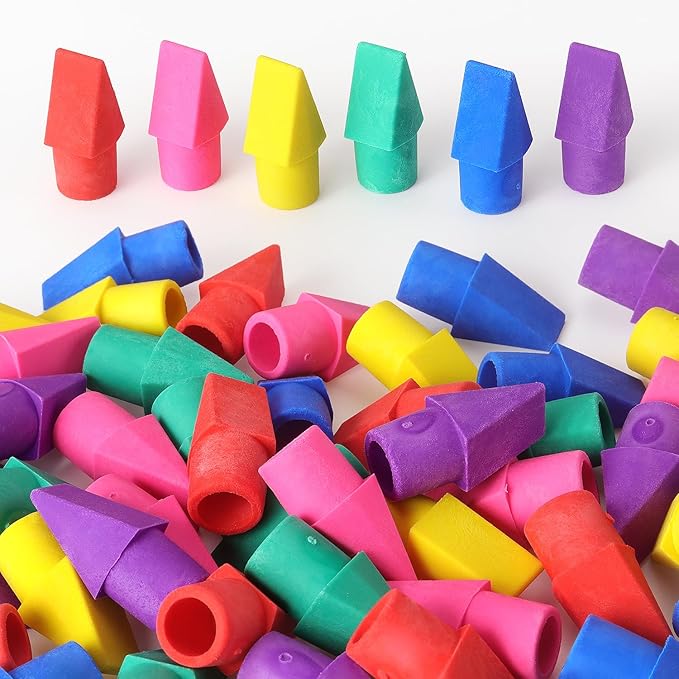
Drawing pencils don’t come with erasers on the end, and sometimes if I’m sketching (especially outdoors) it’s easier to use a “pencil topper” than carry around a separate eraser. These are inexpensive, they’re bright, they make the sketching process a bit easier and a bit more fun. So, why not?
I hope you’ve enjoyed looking at — and maybe learning about — these different types of erasers. I know that I learned quite a bit. Maybe you were already familiar with the various types of erasers available, but even so, sometimes it’s good to have a quick refresher.
We all do make mistakes, and it’s nice to have so many different ways to correct them!

I had never heard there was more than one kind of eraser. This is fascinating stuff. I was just talking about your blog with a member of my church staff yesterday and she asked me to forward a link so she could follow. She is just retiring from the officeand is taking up her artwork again in a serious way.
LikeLiked by 1 person
Oh, thanks so much for sharing! Yes, it’s fascinating to learn things — like simple erasers. They’re not so simple, are they! I had no idea about “sand erasers”, and until recently I hadn’t heart of “electric erasers”. The art world is filled with fascinating little gadgets.
LikeLiked by 1 person
Kneaded erasers are just about my favorite things.
LikeLiked by 1 person
The cats love them! They’re always knocking them off my desk and playing with them!
LikeLiked by 1 person