When it comes to drawing, one of the first things we learn is the importance of correct proportions. I remember quite well some of my first drawing attempts. I tended to draw everything a bit too skinny. Hey, I still do! Just look at some of my “skinny pears“.
OF course, at other times, in an attempt to correct that tendency, I’ve gone overboard and created “fat” little figures — like this image of our cat Flower Child I painted several years ago, or this chubby little bird in pastel. He’s obviously been catching lots of worms!
For me, getting the right proportions in a drawing has always been a challenge. I know various techniques — such as “sighting” — and sometimes those techniques work for me; other times, they don’t seem to help. But, the more we practice with these methods, the easier they are to use, right?
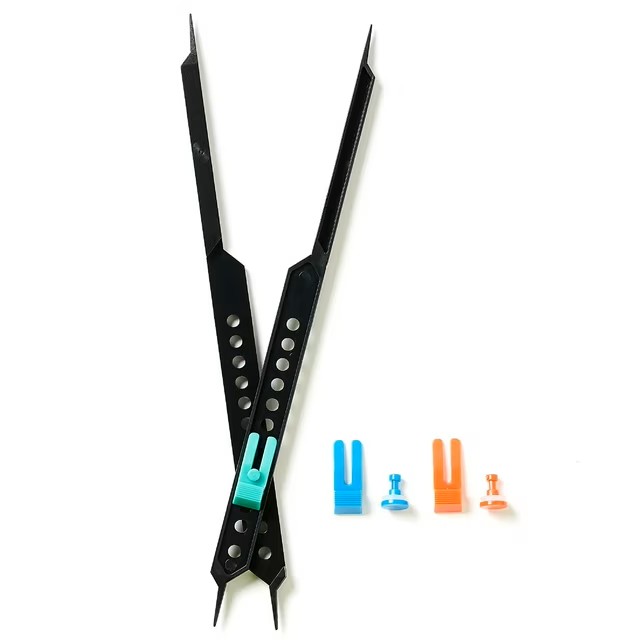
Today for my “shapes and form” exercise, I was determined to have all my proportions accurate, and so I dug out a handy tool — a proportional scale divider. Mine is an inexpensive plastic divider, although, of course, you can purchase high-quality, professional grade dividers, sometimes also called caliphers or compasses.
A proportional scale divider is most often used to proportionally change an image from one size to another. Suppose you’re working with a 5 x 8 reference photo and you want to enlarge it to a 10 x 12 format for drawing. You can grab a proportional scale divider and somehow measure the reference with one end and then use the other end to achieve the proportionally correct measurement. I understand the concept, but I’ve never tried it.
For me, a proportional scale divider is simply a convenient way to measure an object in front of me (or to take a measurement from a reference photo) and then reproduce that image at the same scale. This is what I did with today’s geometric form exercise.
I pulled out a cone this morning. I like cones. When it comes to geometric shapes, cones are probably my favorite. I could have easily drawn a triangular shape (with a slightly curved base) and shaded it in to become a reasonably good form. But I wanted to do more. I wanted to be sure that I was reproducing this form as accurately as possible, as far as the proportions go.
So, I grabbed my divider and carefully meaured the conical form from tip to base. I then marked those measurements on my page. Next, I measured the base and marked them as well. Next, wanting to be as precise and accurate as possible, I used a ruler to create the lines from base to tip, and finally I drew the base free-hand. I actually had to do it twice. My first attempt was a bit wobbly and crooked.
Next, I measured the shadow. Even though it’s not part of the “form”, it’s essential for the drawing, and goodness knows I struggle with shadows! With my proportional scale divider, I was determined to complete today’s exercise as accurately as possible.
And, for good measure, I not only added shading and blending, but also worked to show the wood grain texture of this object.
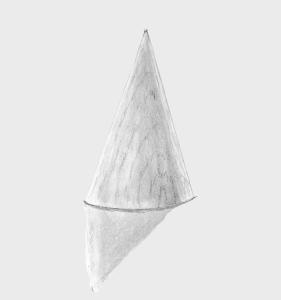
This is a page from my sketchbook, and in my original scan you could “see through” the page to the silly matryoshka doll I created on the previous page. So I used a Microsoft Design program to erase the background and replace it with a solid gray tone. This did result in a slight distortion of the shadow, but hopefully you can get an idea of how the cone itself turned out.
My shading, blending, and texturing may not be perfect — and we’ll just not talk about the shadow — but one thing I can guarantee: this object is proportionally correct. Using both the proportional scale divider and the ruler as drawing tools was very helpful.
To be honest, though, it was also nerve-wracking. Being clumsy and uncoordinated, it’s always been difficult for me to use tools of any sort. Hopefully if I use my divider and my ruler more, I’ll eventually become more comfortable with them.
Attitude and understanding are important here, too. You see, I once naively believed that “good artists” could simply draw anything — with perfect proportions — without even trying, simply because they were “good artists”. It never occurred to me that even the best artists might sometimes need to make use of “art tools” — such as compasses, dividers, circle templates — or drawing methods — such as grids and contour lines. I understand now that a truly “good artist” recognizes the need for accuracy and correct proportions and will gladly use whatever tools and methods it takes to achieve satisfactory results.
Not that I’m aiming for perfection. That’s not my goal. I’ve learned, in fact, that it’s often the imperfections in our art that make it appealing, giving it a personal touch that is unique to us and our style.
I’m striving for “realistic representation” in my art. LIke today’s cone. I took my time, I used the tools at hand, and I did create a realistic representation of this wooden form, one that is proportionally correct. From top to bottom, from side to side — it’s accurate. Well, at least as accurate as I can be. And that makes me feel good. It makes me feel that I’ve got this day off to a very good start.

Love it! I can see all the care you took with the textures and proportions.
LikeLiked by 1 person
Thanks. Yes, it turned out all right. Later on you’ll see another post where I tried using a ruler for measuring. It didn’t turn out quite so good LOL. But it’s practice, and that is helping me. Even though these are just simple wooden blocks, I am enjoying my drawing time.
LikeLike