I was pleased — and also surprised — with this drawing exercise. It was from a lesson on seeing and using the concepts of both positive and negative space (also known as positive and negative shapes) during the drawing process.
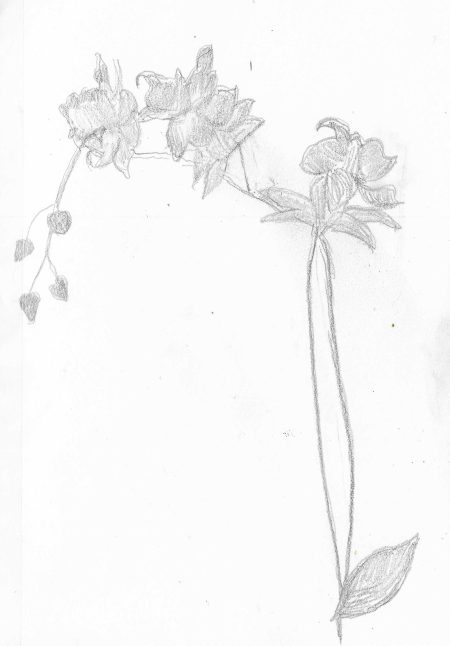
Although it’s probably not apparent from my sketch, the subject was a flowering orchid. The instructions were to simply look at the positive and negative spaces — imagining the positive shapes in black — and then to draw those shapes. We were not attempting to draw orchids or to come away with a completed drawing. It was simply an exercise in noting negative spaces and using them to help us achieve a more accurate result with the positive spaces.
We drew the contours of the flowers then darkened them somewhat. Oops! I immediately realized I’d totally missed a little “negative space” poking through the petals on the left. I also had to make a few adjustments as I studied other negative spaces.
It’s interesting, really, how we can so easily overlook these negative shapes/spaces. There’s nothing really there, so maybe our brains just don’t pick up on them!
Overall, I thought I did a good job of creating these contours, especially after I made corrections with the negative spaces. What surprised me, though, was that this is a fairly complex subject, yet I approached it without hesitation. Maybe it’s because I knew I didn’t have to concern myself with creating each individual petal; no need to even think about how to properly shade these orchids. My task was simple enough — just draw the overall “positive shape” contours.
All the while I was thinking “How can I do this so easily when I can’t even draw a simple pear?” That’s one of the great mysteries of my art experience, I suppose. I think it was helpful that the contours were made up of small curves, little shapes, not a large area that required careful attention to precise proportions.
I truly enjoyed this exercise. It showed me that I wasn’t as observant as I could have been, yet it did it in a relaxed, no-pressure sort of way. So I intend to repeat this exercise from time to time with other reference photos.
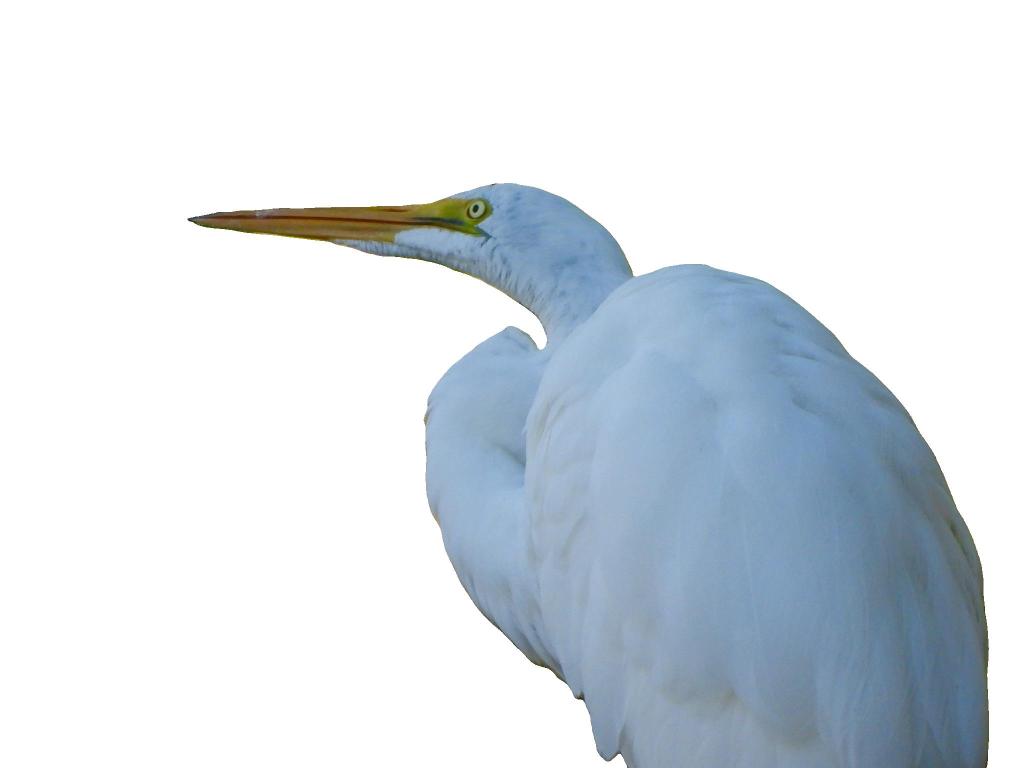
Here are a few — free to use — in which I’ve removed the background to make the positive and negative spaces easier to see.
This first one is very easy. As you draw the contours of the bird, just pay particular attention to the shape between the body and neck.
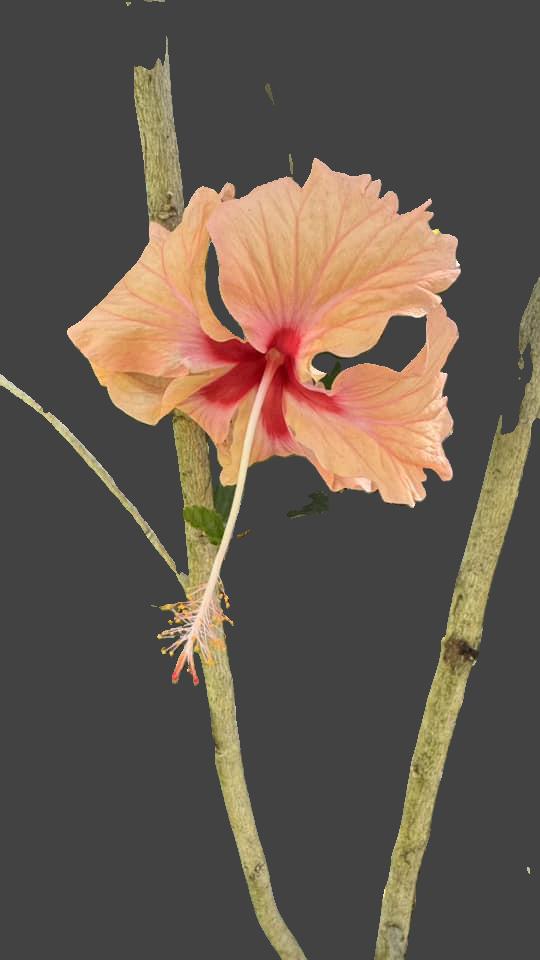
Now, about this lovely flower. Removing the background didn’t come out perfectly, but you can clearly see the negative shapes between the petals.
For a slightly more challenging exercise, look at the positive and negative shapes in this photo:

Lots of interesting negative spaces/shapes to draw here! And here’s one more challenging photo:

Negative space has always been one of those concepts that I’ve understood, yet I’ve rarely paid a lot of attention to it when drawing. Technically, with an exercise like this, we should actually be able to draw the negative shapes instead of the contours — and end up with the same result.
The idea is to stop “seeing things” and focus on seeing the shapes instead. Again, these exercises involve drawing only the contours — the simple shapes — and not adding shading to create realistic forms. Once you’ve outlined the contours — and made sure you have the negative shapes correct — you can darken the positive shapes.
So, give it a try. It’s actually quite fun, and for me, it was very educational!

It’s fascinating how our brains overlook negative spaces—your reflections on that were so interesting! 🙂
LikeLiked by 2 people
Yes, it’s so interesting that we can just overlook them!
LikeLiked by 1 person